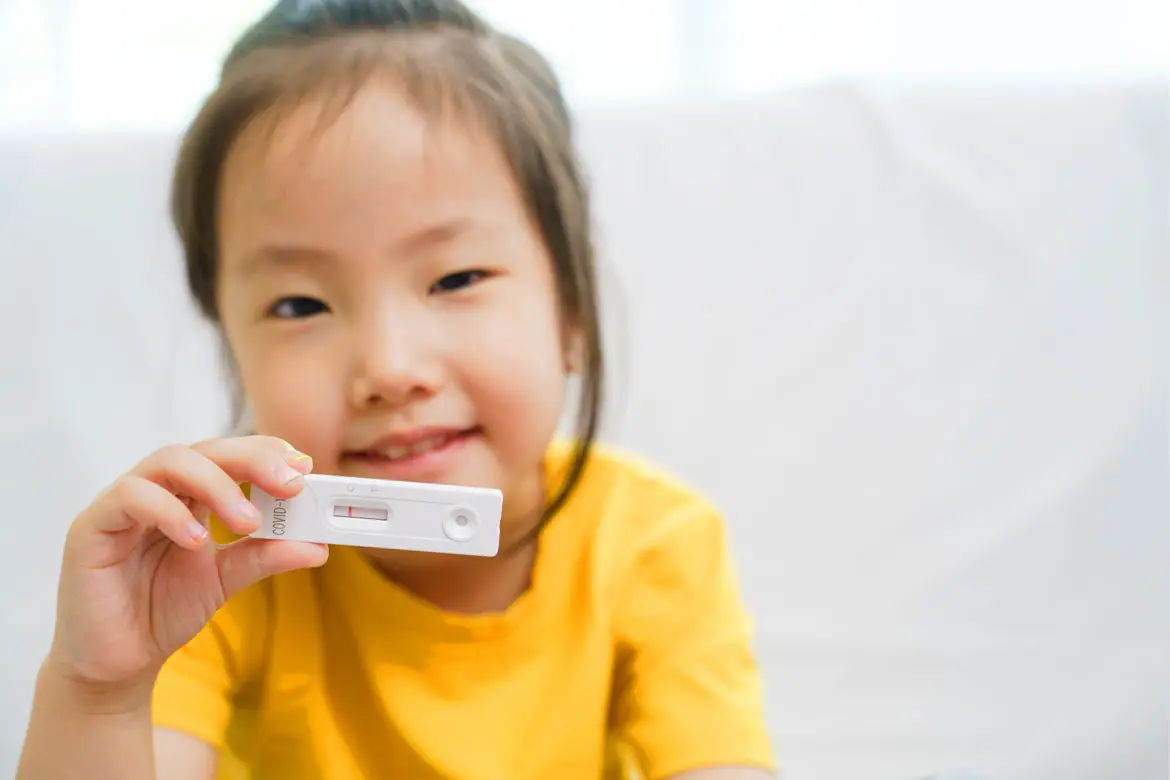
Commonly referred to as ART tests, Antigen Rapid Test (ART) self-test kits are widely available in retail pharmacies across Singapore, and it is without doubt, a game changer in the nation’s bid to curb the spread of the disease.
Suitable for use among adults and children from the ages of 3, these kits work as a do-it-yourself screening tool to pick up possible COVID-19 infections early so that individuals can promptly isolate themselves before seeking treatment for the disease. There are many brands available in the market, but they all have an accuracy rate of about 80% in screening for the SARS-CoV-2 virus.
These self-tests typically take about 20 minutes or less to complete, with instructions easy to follow (with practice), and can be done in the convenience and comfort of home.
Particularly for parents with young children, being able to do these tests in a familiar environment is especially helpful as younger children may view such tests with fear or disdain. Simple as it sounds and straightforward in its application, nobody, especially young children, will welcome a swab stuck up their nostrils.
To help parents through the stress and ordeal of conducting such tests, here’s a guide with tips to help make the process a wee bit more pleasant for your little ones.
How should a ART self-test be conducted on a child?
Firstly, it is important to take note that when using an ART self-test kit among children aged between 3 - 14, it is recommended that an adult help the child perform the test.
If you’re helping a child below the age of 14 to perform an ART self-test, follow the steps below:
Step 1: Read the instructions given
Read the instructions of the ART self-test kit and familiarise yourself with the process and note the sequence of the steps. It is important to note that the instructions and requirements will vary between brands of test kits.
Step 2: Have a conversation
In a calm and confident manner, help your child understand the steps you’ll be taking to conduct the test. Take your time to explain to your child, and if your child is old enough, this is also a good time to address any questions they might have about the test and the reasons why it is necessary.
Step 3: Check on your environment
Before proceeding with the ART self-test, do ensure that it is conducted a well-ventilated environment such as in a room with open windows. The room should also have a flat and sturdy surface where you can lay out the items of the ART self-test kit.
Step 4: Cleanliness
Once you and your child have settled down in the room, you should clean the surface you’re using and wash your hands prior to the test. Only then do you proceed to place all the items from the kit on the flat surface.
Step 5: Take a nose sample
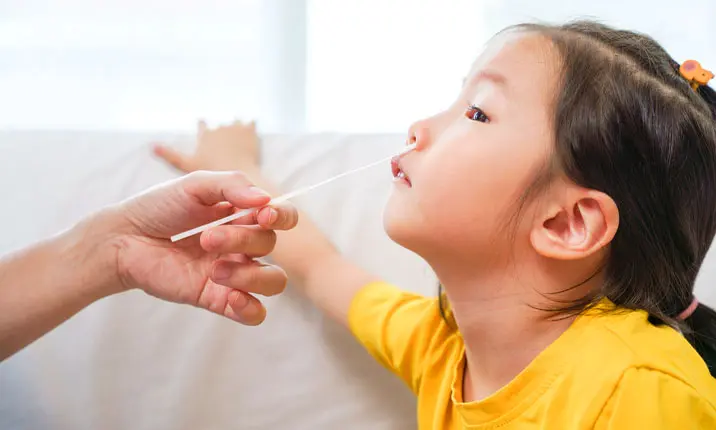
This is perhaps the trickiest step of all. As you attempt to swab a nose sample from your child, gently insert the swab into one of your child’s nostrils and rotate the swab for at least 5 times, before repeating it in the other nostril with the same swab. Gently remove the swab from the nose.
Note: It is recommended to insert the swab about 2cm into the nostril, although this might be less for younger children. As a rough guide, the swab should be inserted until some resistance is felt. Older children may be able to do this step themselves.
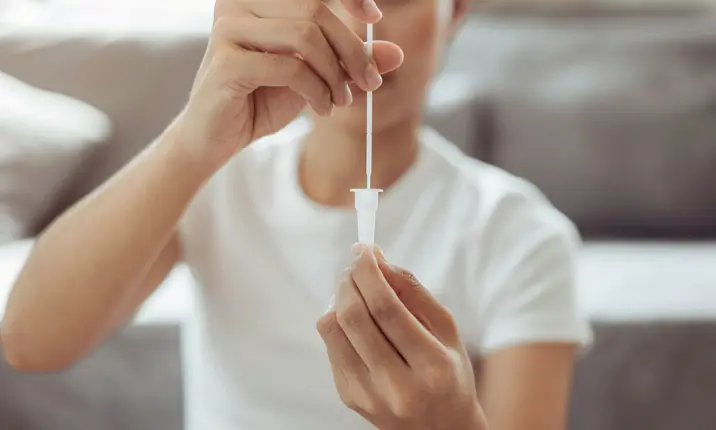
Step 6: Place swab into the vial
Place the swab into the plastic vial provided and follow the manufacturer’s instructions for preparing the liquid and transferring the mixed solution onto the test cartridge. You may check the instructions on the waiting time and wait patiently before checking the results. Keep the cartridge on a flat surface through this time as any disturbances may affect the accuracy of the result.
Step 7: Read the results
Read and check your ART self-test results according to the manufacturers’ instructions in the specific test kit. Do take a photograph of your results with your personal identification and note the date and time should you need to submit it for verification. Should you note an invalid result, the test may not have been done properly and you should repeat the test with a new kit.
Step 8: Clean up
Upon completing the test, be sure to properly dispose of all the test items. Please throw them away immediately. Also, don’t forget to disinfect the surface you used.
How can I prepare my child for the test?
As a parent or caregiver, there are steps that you can take to ease possible levels of fear and anxiety in your child. When your child is prepared, this makes him or her more comfortable and cooperative to take the test. How can you help your child prepare for an ART test?
Before the test
If your child feels scared or uncomfortable, you could opt to test yourself so they can witness first-hand that the process is quite simple. For young children, you may need another adult to hold the child’s arms down while you collect the nasal sample.
You should also identify a coping plan that could contribute to a smoother process. For instance, you could play your child’s favourite song, allow him or her some screen time when conducting the test or get them to hold their favourite toy.
During the test
Remind your child to stay as still as possible throughout the test. Now would be a good time to implement the coping plan as a way to distract your child from focusing on the process of the test.
Remember, do remain calm and confident when conducting the test. If your child starts to panic or pushes your hand, do give your child time to calm down, or consider stopping the test process entirely.
After the test
Praise your child for being a great sport! You may want to provide your child a reward for completing the test.
When should I conduct the test?
Upon a known exposure to someone suspected or tested positive for COVID-19, you should get your child tested between 3 – 5 days after coming in contact with the person. You should also consider conducting the test if your child presents any symptoms of COVID-19 such as fever, cough and tiredness.
When should you avoid or stop the ART self-test?
The ART self-test should not be performed if your child:
- Had a nosebleed in the last 48 hours
- Recently had a facial injury
- Has been diagnosed with a bleeding disorder
- Had a nasal or facial surgery recently
When testing for COVID-19 at home, is also important to look out for any body language that might indicate your child is very uncomfortable or experiencing a high level of pain. In instances whereby an accident happens during the test, you’re encouraged to bring your child to a hospital’s Urgent Care Centre (UCC) for immediate medical attention.
Preparing yourself as well as your child for an ART self-test can be helpful in helping your child stay calm during the process and ultimately, conduct a successful test. Do keep in mind that if you’re uncertain about how the COVID-19 testing is done or have any questions at all, our medical professionals are always ready to help you out.


